Shaders
Shader Integration
Shader integration is a core feature of Brakeza3D, allowing developers to create stunning visual effects and customize rendering at every level. Just like scripts, shaders can be assigned either to the entire scene or to individual objects, giving you full control over how your project looks and feels.
Brakeza3D allows you to incorporate your own GLSL shaders, which can be written directly in code for maximum flexibility or created through a node-based visual interface for a more intuitive workflow. This makes the system accessible to both programmers and artists.
The engine provides built-in tools in the GUI to edit and manage shaders. When creating a shader from the UI, Brakeza3D automatically generates a .vs (vertex shader) and .fs (fragment shader) file, along with a JSON metadata file that stores shader information. All shader parameters (uniforms) are exposed and can be modified at runtime, making it easy to fine-tune lighting and visual appearance dynamically.
For advanced users, Brakeza3D supports shaders that directly modify Mesh3D geometry, enabling procedural effects, custom vertex manipulation, and advanced rendering techniques. This flexibility allows you to push beyond standard rendering and achieve unique visual results tailored to your project.
Types of Shaders
Brakeza3D supports multiple shader types to cover different use cases:
PostProcessing Shaders
These shaders are applied after the scene is rendered and affect the final image globally. They are ideal for effects such as bloom, color grading, depth of field, fog, motion blur, and other cinematic enhancements. Postprocessing shaders can only be applied at the scene level and modify all objects at once, giving your projects a polished, professional look.
Object Shaders
Object shaders are applied to individual Mesh3D objects and control how they interact with light and how their surfaces appear. They are divided into two categories:
Mesh (Geometry) Shaders
These shaders operate on vertices and geometry before rasterization. They allow procedural geometry effects, vertex animation, and custom transformations. They control material properties such as color, texture, reflectivity, transparency, and more.
PostProcessing Object Shaders
These behave like postprocessing effects but are applied locally to a specific object, allowing effects such as glow, blur, or distortion on a single mesh instead of the whole scene.
Node-Based Shaders
Brakeza3D also supports node-based shaders, offering a visual alternative to GLSL coding:
PostProcessing Shader Nodes
Provide the same functionality as GLSL postprocessing shaders but through a visual node system. Artists can build effects like blur, color correction, and masking without writing code.
Object Shader Nodes
Work similarly to Object GLSL shaders but use nodes instead of code. They are ideal for visually modifying geometry, applying procedural effects, and customizing vertex attributes per object.
Managing Shaders
Shaders are managed through the File Browser window (Window → File Browser). Navigate to the Shaders section to browse, create, edit, or delete shaders.
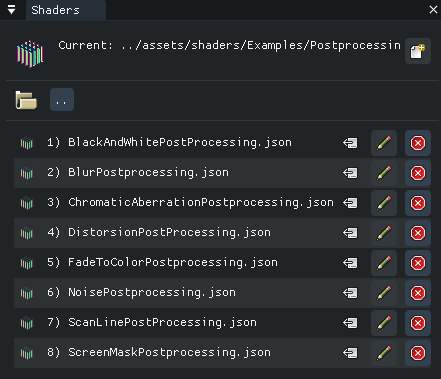
From the File Browser you can:
- Create new shader files (GLSL or Node-based)
- Open shaders in the Code Editor or Node Editor
- Delete existing shaders
- Drag and drop shaders to objects or project setup
Brakeza3D includes a wide variety of built-in post-processing shaders, which you can use freely in your projects.
Nodes editor
A Node Editor in post-processing shaders provides a visual, modular way to create and customize effects. Instead of writing code, you can connect nodes representing operations, textures, and mathematical functions, allowing you to design complex visual effects like color adjustments,
blurs, distortions, and glow in an intuitive, flexible manner.
| Nodes editor example #01 | Nodes editor example #02 |
|---|---|
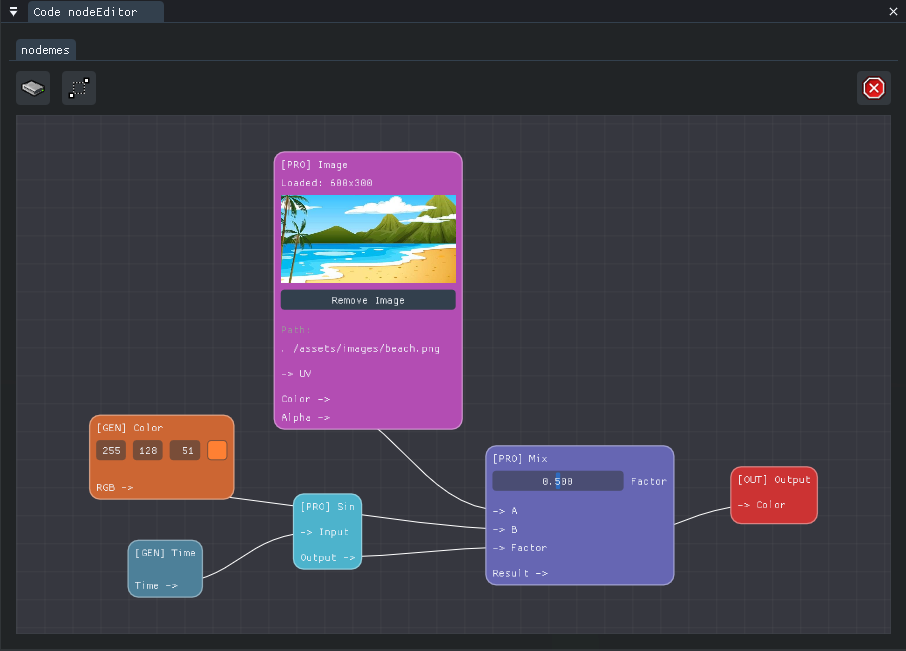 | 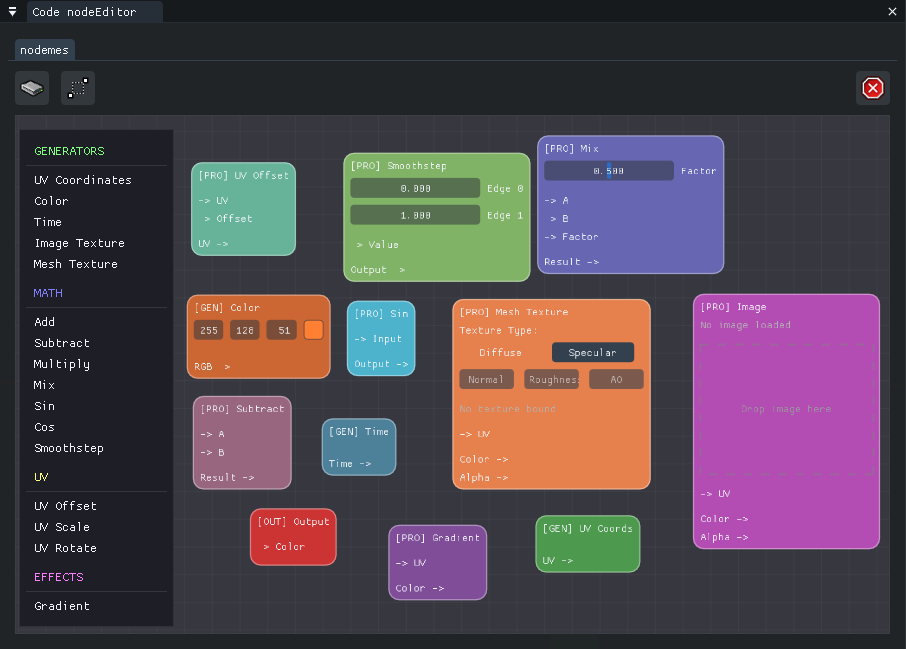 |
Code editor
Like scripts, shaders that don’t use nodes can be written from scratch. Brakeza3D uses GLSL language, and the Code Editor lets you edit both vertex and fragment shaders.
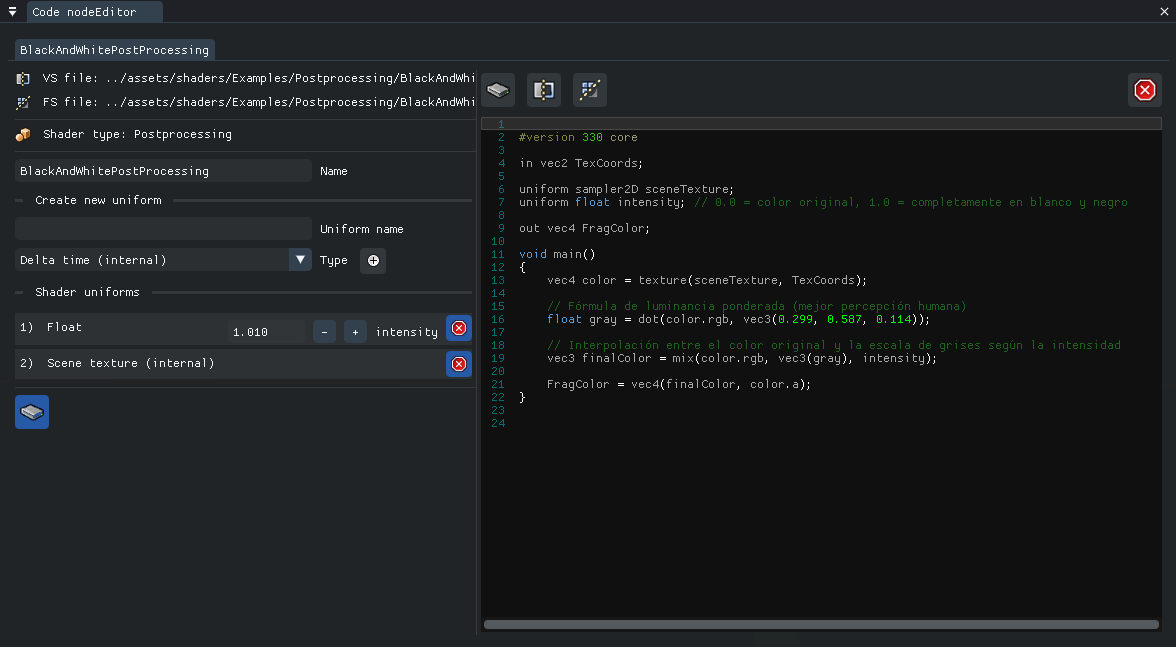
In addition to the code, you can also modify the default values of variables (called uniforms in GLSL).
Selected object shaders widget
The Object Shaders window lets you manage shaders assigned to a specific object. Clicking an object in the scene will display its shaders here, allowing you to configure them for that object only.
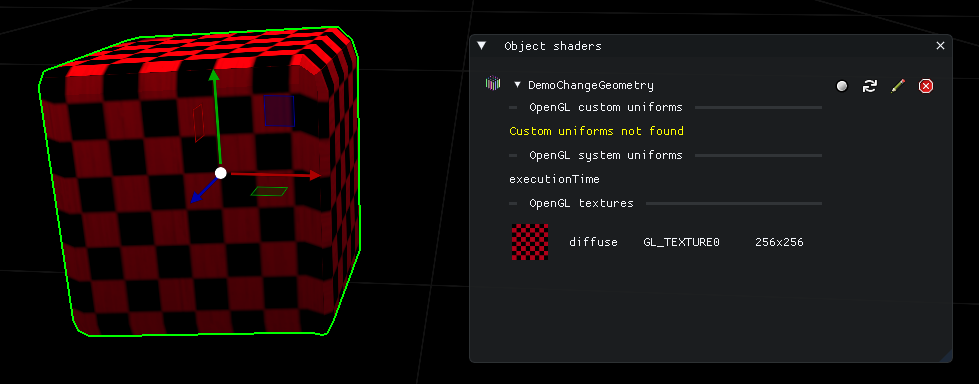
You can enable or disable each shader individually if desired.
Project shaders settings widget
As seen in section 2.3) Projects, each project has its own Project Setup window, where associated shaders can be managed. From here, you can adjust shader settings.