Overview
The engine provides an integrated 3D development environment focused on real-time editing and iteration. The GUI is designed to centralize scene creation, asset management, scripting, rendering, and debugging within a single workflow.
Its main goal is to allow developers and designers to build, modify, and test scenes interactively, reducing iteration time while maintaining full control over rendering, logic, and performance.
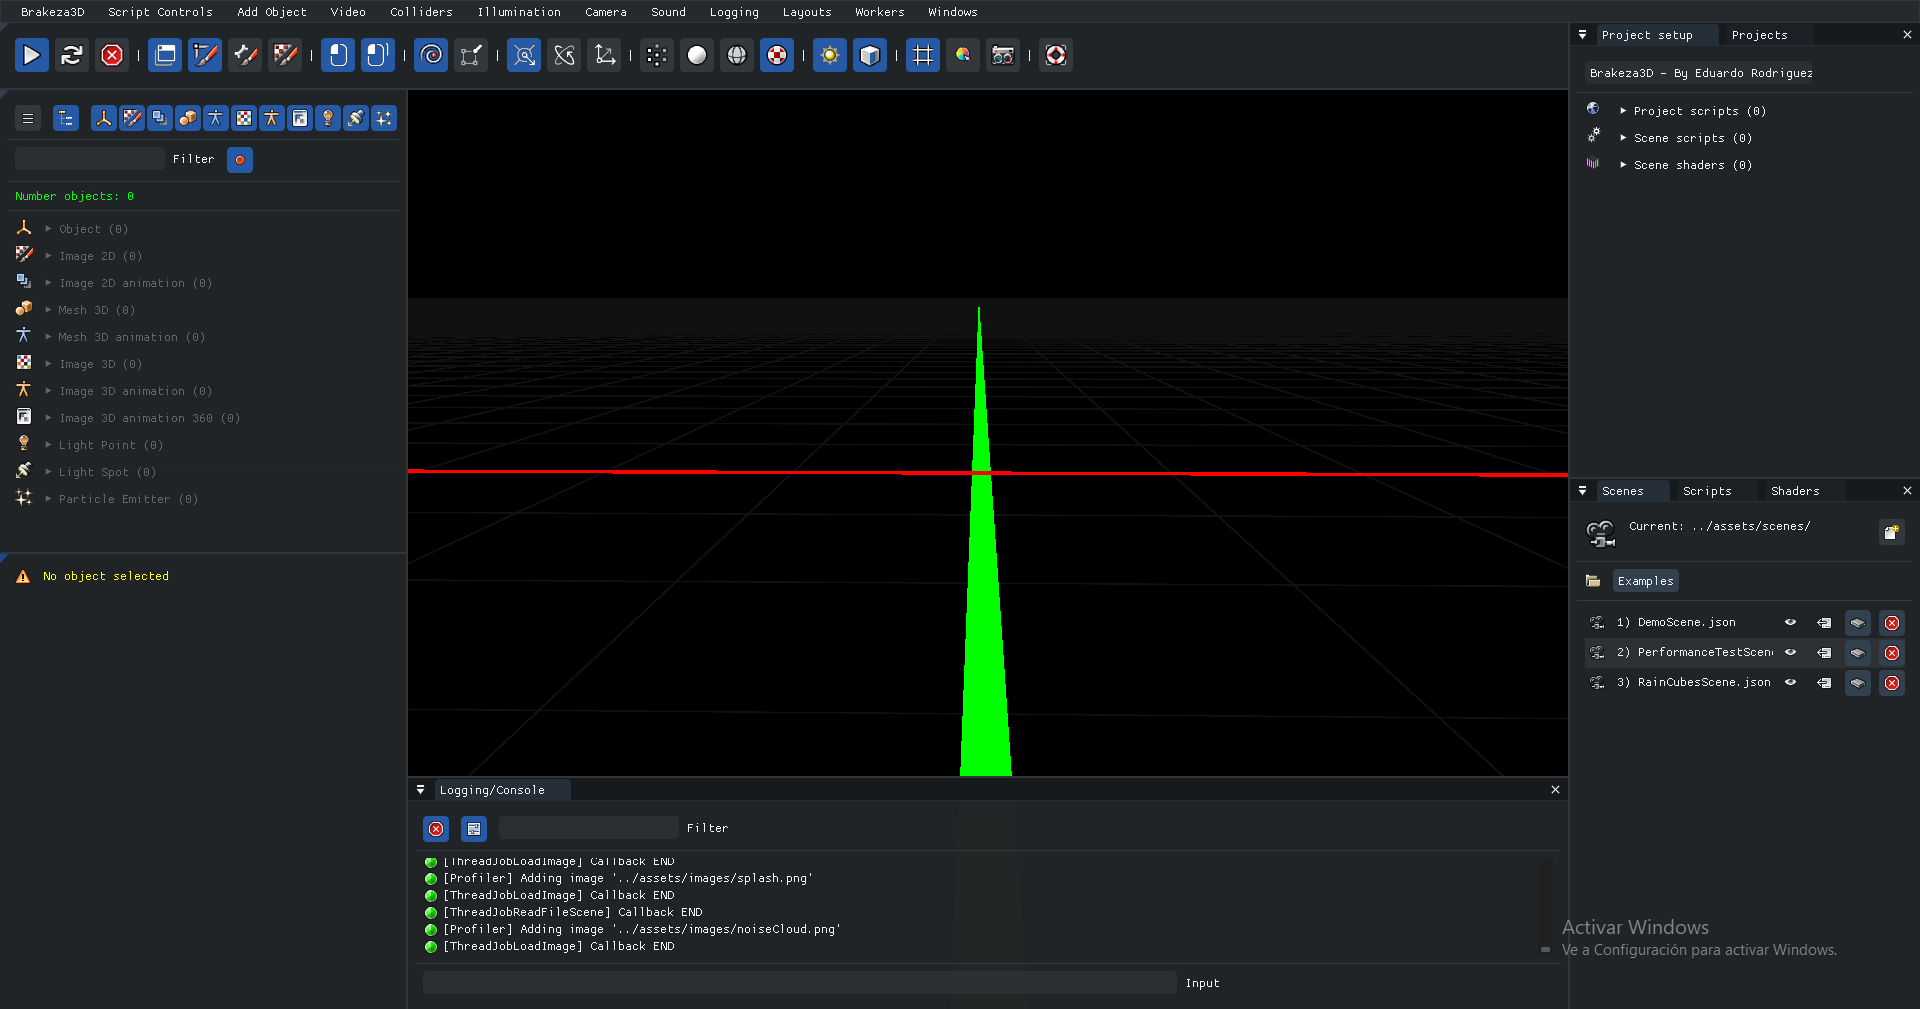
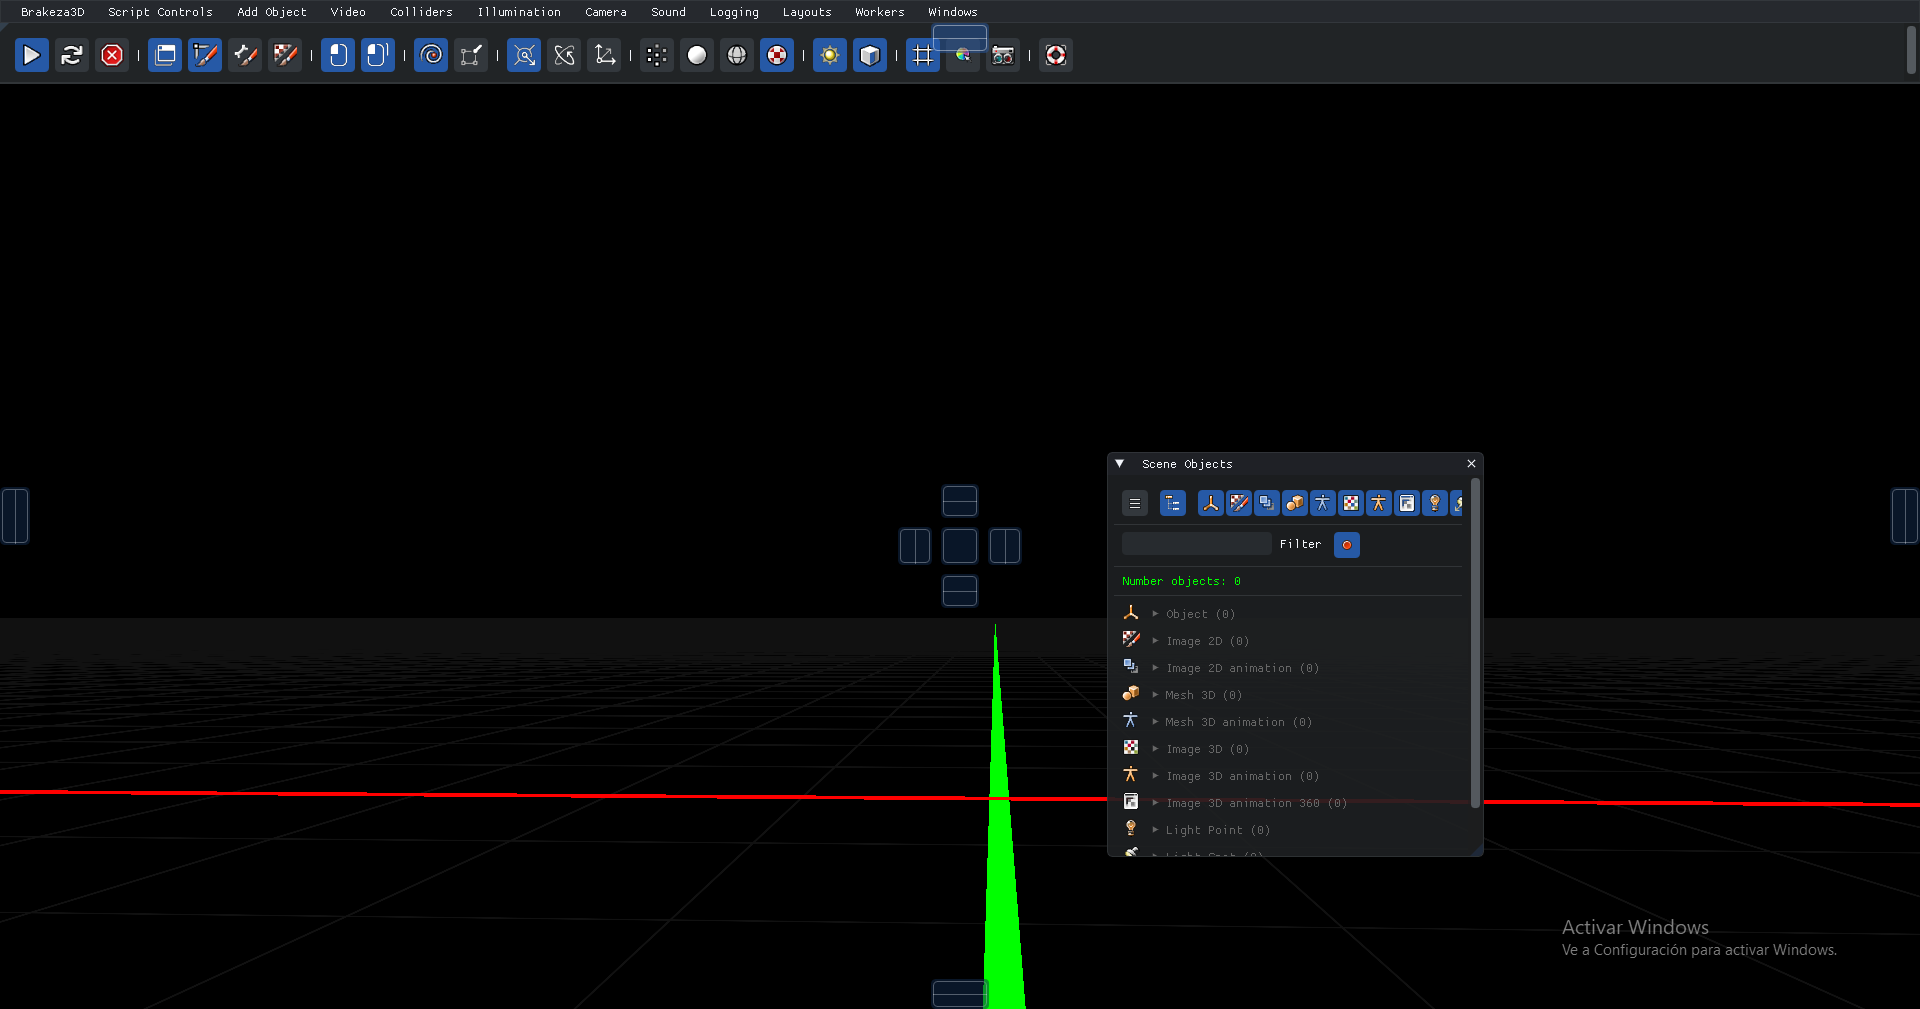
If the installation was successful, running Brakeza3D will start it with an empty scene using the default settings:
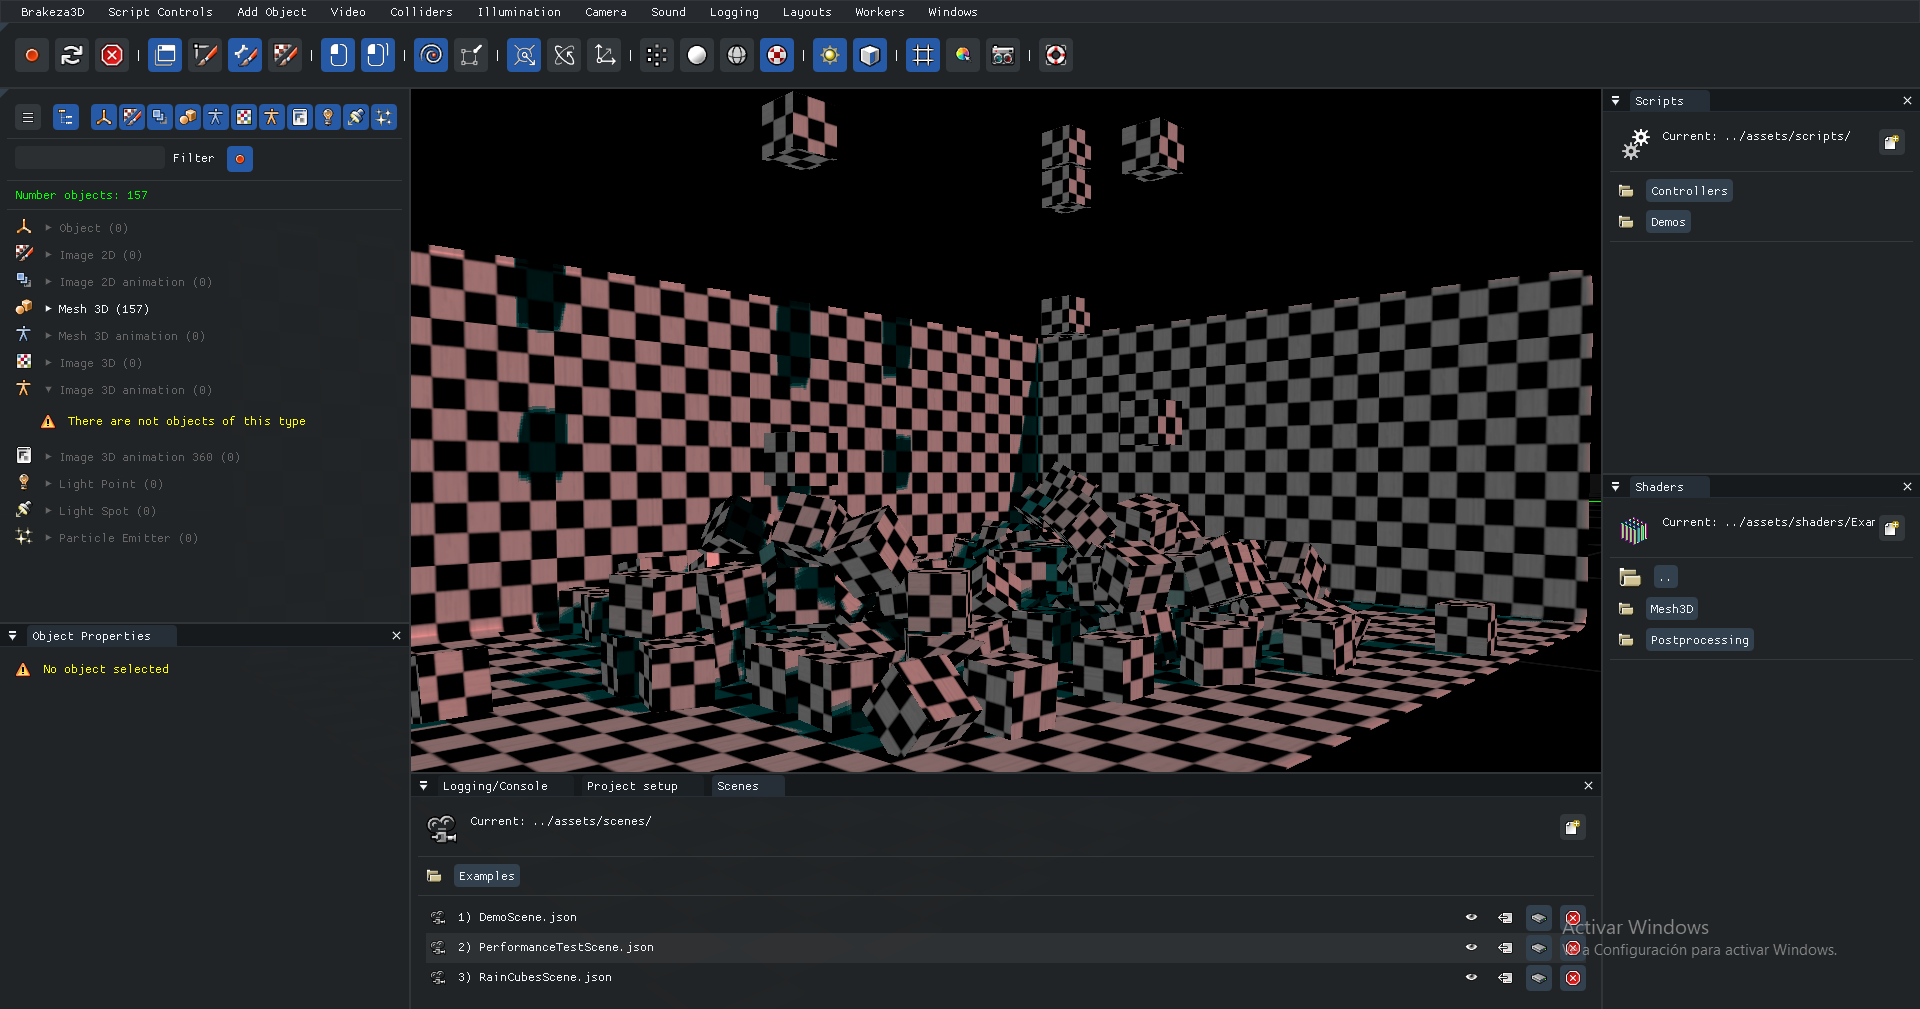
Docking system
Brakeza3D integrates ImGui’s docking system to provide full customization of the workspace. You can personalize the editor’s layout and appearance, although we recommend first becoming familiar with the default configuration, which will be used throughout this documentation.
 |  |
|---|---|
 |  |
 |  |
With few exceptions, all windows in Brakeza3D are dockable, allowing you to drag and place them anywhere you like using the mouse.
Main menu
In the main menu, you will find the following sections:
| Section | Description | Notable Options |
|---|---|---|
| Brakeza | Author information and documentation | Documentation |
| Script Controls | Control the execution flow of scripts | Play/Stop/Reload scripts |
| Add Object | Add objects to the current scene | Image2D, Image3D, Mesh3D, PointLight |
| Video | Render settings | Framerate, render modes, grid options |
| Colliders | Collision system configuration | Substeps, gravity, debug mode |
| Illumination | Lighting system settings | ADS components, shadow mapping, depth map |
| Camera | Camera configuration | FOV, Far Plane |
| Sound | Sound system settings | Music volume, FX volume |
| Logging | Log system configuration | Enable/Disable, output to STD |
| Layouts | Predefined user interface layouts | Default, Dev, Designer layouts |
| Workers | Thread queue configuration | Performance queue parameters |
| Windows | Resolution and widget settings | Render size, fullscreen |
Toolbar
The quick access bar provides shortcuts to the most frequently used options, which are also accessible through the menus.

Hover the mouse over each button to see a brief description of its function.
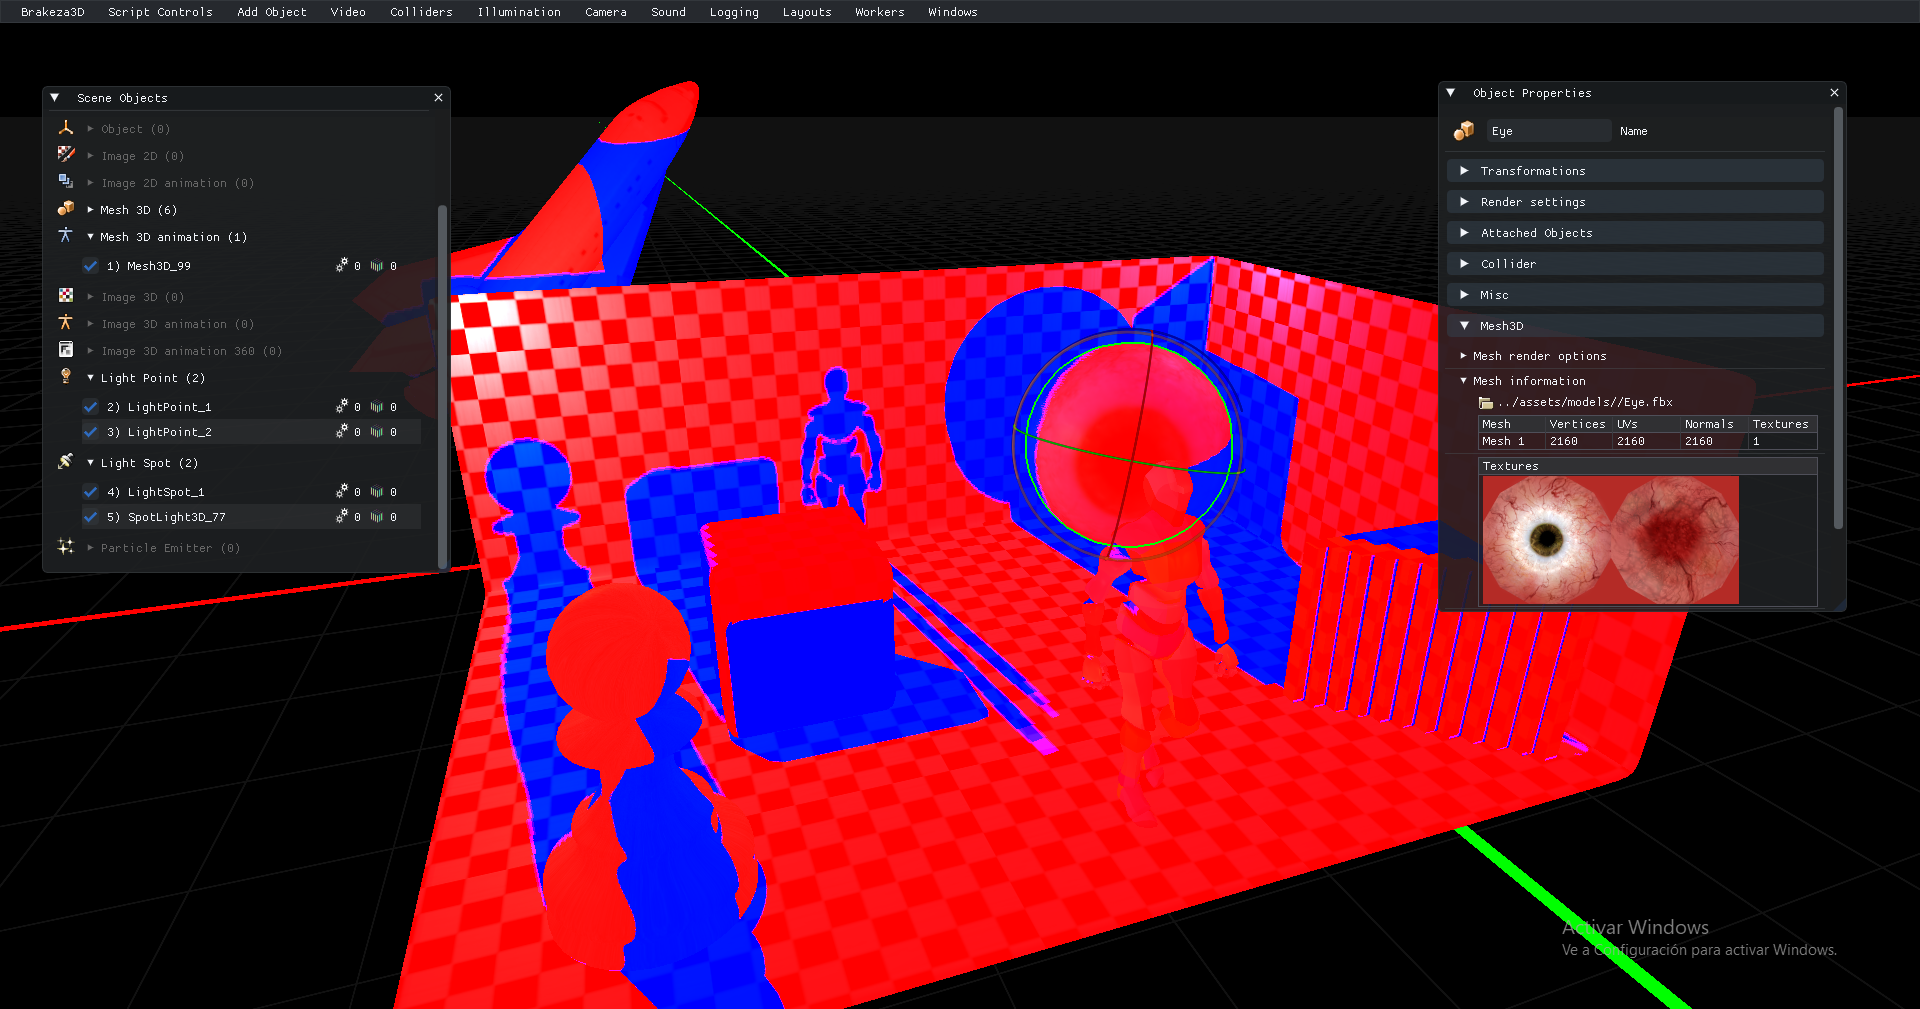
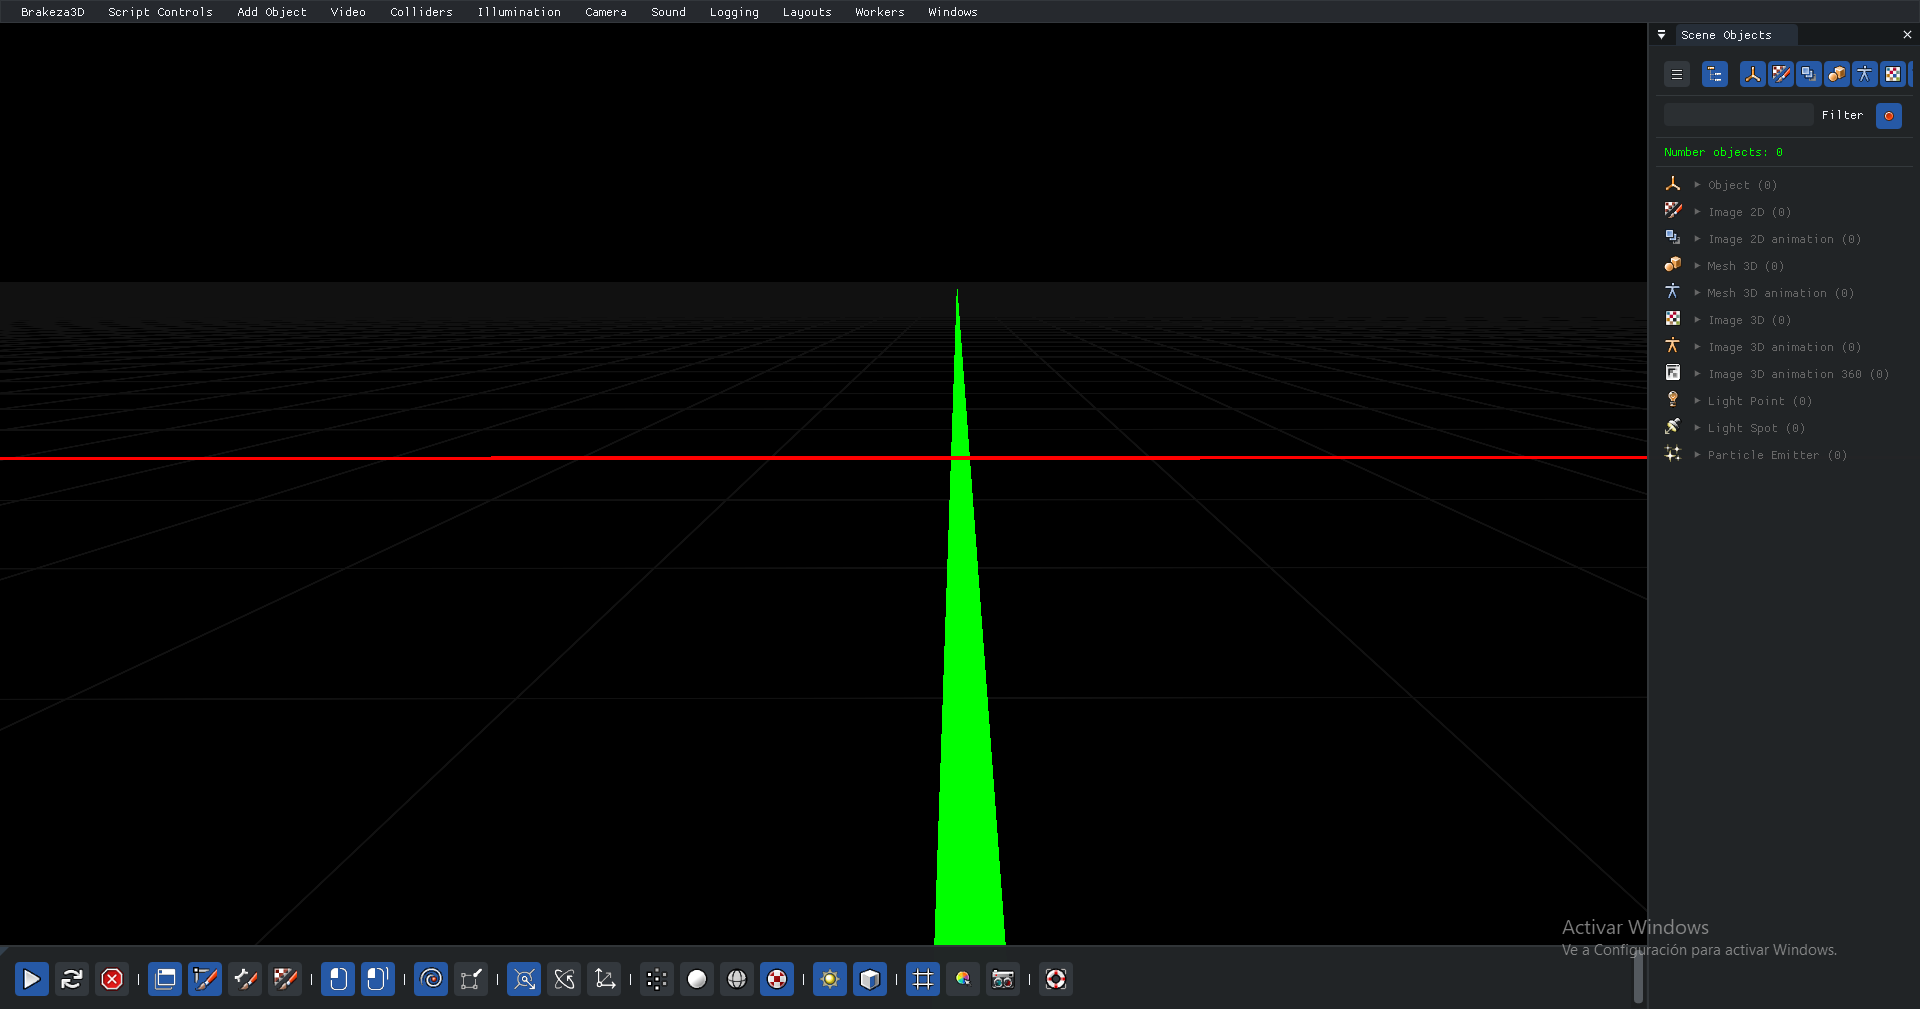
Render view
The window itself represents the main rendering area. The GUI is always displayed on top of it. Press F4 to hide or show the GUI.
| Render view + GUI #01 | Render view without GUI |
|---|---|
 |  |
Moving around the scene
You can navigate the scene using the keyboard arrows: ← → ↑ ↓. Hold Shift while using the arrows to move aligned with the main axes.
Hold down the Right Mouse Button while moving the mouse to rotate the camera as if in a first-person game. You can click on objects in the scene to select them using the Left Mouse Button.
Object selection
Brakeza3D supports both single and multi-object selection directly from the viewport.
Single selection
Click any object in the viewport with the Left Mouse Button to select it. Clicking on empty space deselects the current object.
Multi-selection
| Action | Result |
|---|---|
| Ctrl + Left Click | Toggle an object into / out of the selection group |
| Ctrl + Left Drag | Draw a rectangle — all objects inside are added to the group |
| Click on empty space (no Ctrl) | Replaces the selection with the clicked object (or clears it) |
While dragging, a blue rectangle is drawn on screen using the line shader so that it is visible regardless of whether the editor GUI is visible or hidden (F5).
Selection picking is active in both editor and play mode. When scripts are running you can still click to select objects from the viewport, and Lua scripts can read and modify the selection group at any time via the ComponentRender API.